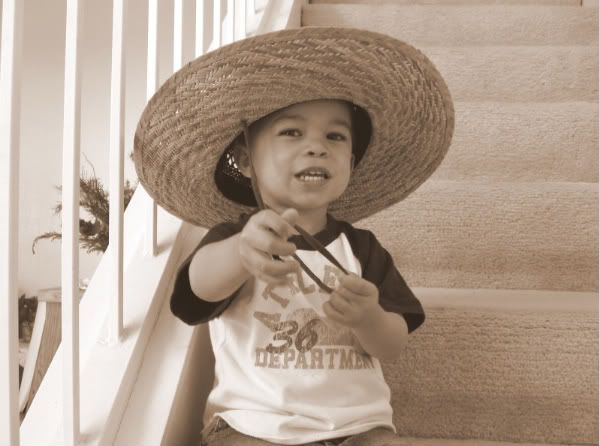
Have you noticed the blog facelift?
I re-vamped the blog so that I can do this:
I re-vamped the blog so that I can do this:
 I wanted BIG pictures!
I have always seen people post big pictures but, could never figure out how to do it!
Well, my amazing cousin did a tutorial. And because I was so excited about learning how to do it, I'm passing the wealth of knowledge on to you! After this I expect everyone to have big pictures on their blogs!!
Read and learn here.
*enjoy!*


4 comments:
I love the look of bigger pictures! But I read the tutorial and I have a few tips that cut out some extra steps. Maybe you already know, maybe not. So I'll share what I know. When you go to upload into photobucket, right below where is says Upload images & video, it says Reduce to: and then you can click the arrow and choose a size. It will atomatically resize the picture as it uploads. I always choose 640 x480 (Large). You don't have to edit the picture at all in photobucket. It's already done. Then, I copy the html like your cousin said, but after that I go straight to my blog post where you would start writing. One side says Compose, and right next to it there's an Edit HTML tab. Click on that. Then just paste the html code into that area. You never have to upload at all. Hope that helped!
Wow! Thanks for the tip! I will definitely try that!
So glad you could use the info!! The big pics look GREAT!
Awesome! I'm so glad you posted this cuz I've been curious how to do it, so thanks!
Post a Comment